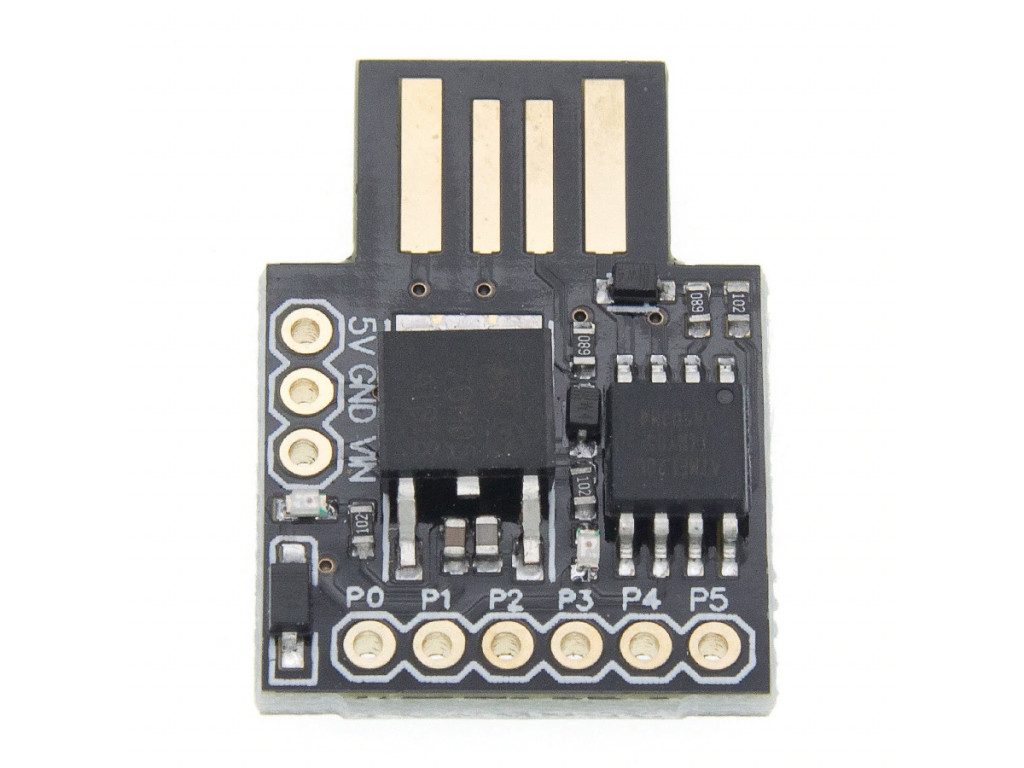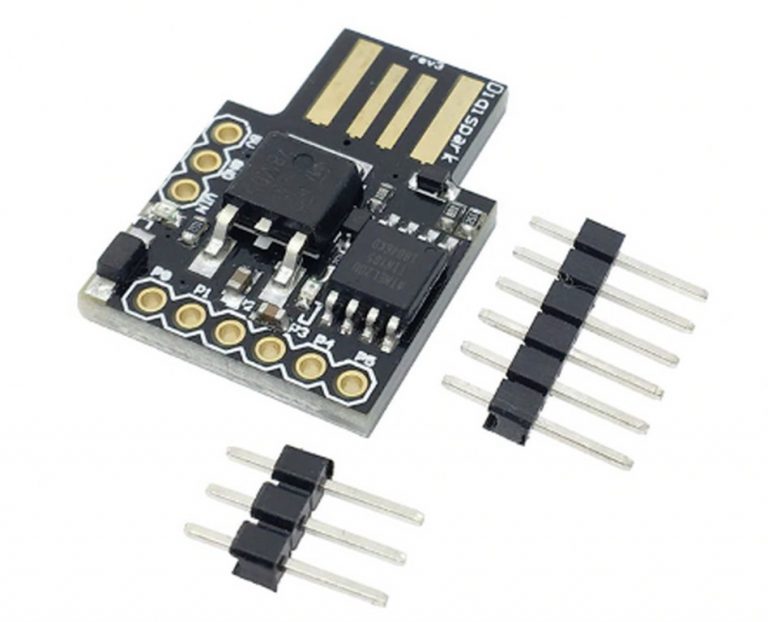

It's the best of both worlds – a hybrid of the ATtiny's size and price with the convenience of programming it directly from your computer. What I've found most useful is the Digispark breakout board. If you want to go this route, check out Arjun's fantastic tutorial. This protects the IC from the high temperature, and you'll be able to remove and reprogram it later.

If you're soldering together an ATtiny-based project, use a socket instead of soldering directly to the chip. The ATtiny is great if you want to program a bunch of chips in a row, put them in your circuits, and forget about them. The chip comes in a few different types – ones with more flash memory, lower power, and so forth. This helps make the project smaller and more permanent, as well as freeing up the Arduino for more fun!

Execute_Powershell_Script: Downloads and executes a powershell script in hidden mode.DNS Poisoner: Injects lines into the Windows hosts file and redirects URLs to wherever you want.Create_Account: Creates a new admin account and optionally hides it.Then download one of scripts (sketches), open them with Arduino IDE, modify them if needed and upload them to the DigiSpark. InstructionsĬonfigure the Arduino IDE for the DigiSpark using: or Seytonic's tutorial. If you have found a USB Rubber Ducky scipt that you want to convert to a DigiSpark sketch, you can always use digiQuack, a tool which can be found in my repositories. This is a set of hand-written DigiSpark sketches for the Arduino IDE that utilize the DigiKeyboard.h library making the DigiSpark to act as a keyboard and execute a variety of actions.


 0 kommentar(er)
